

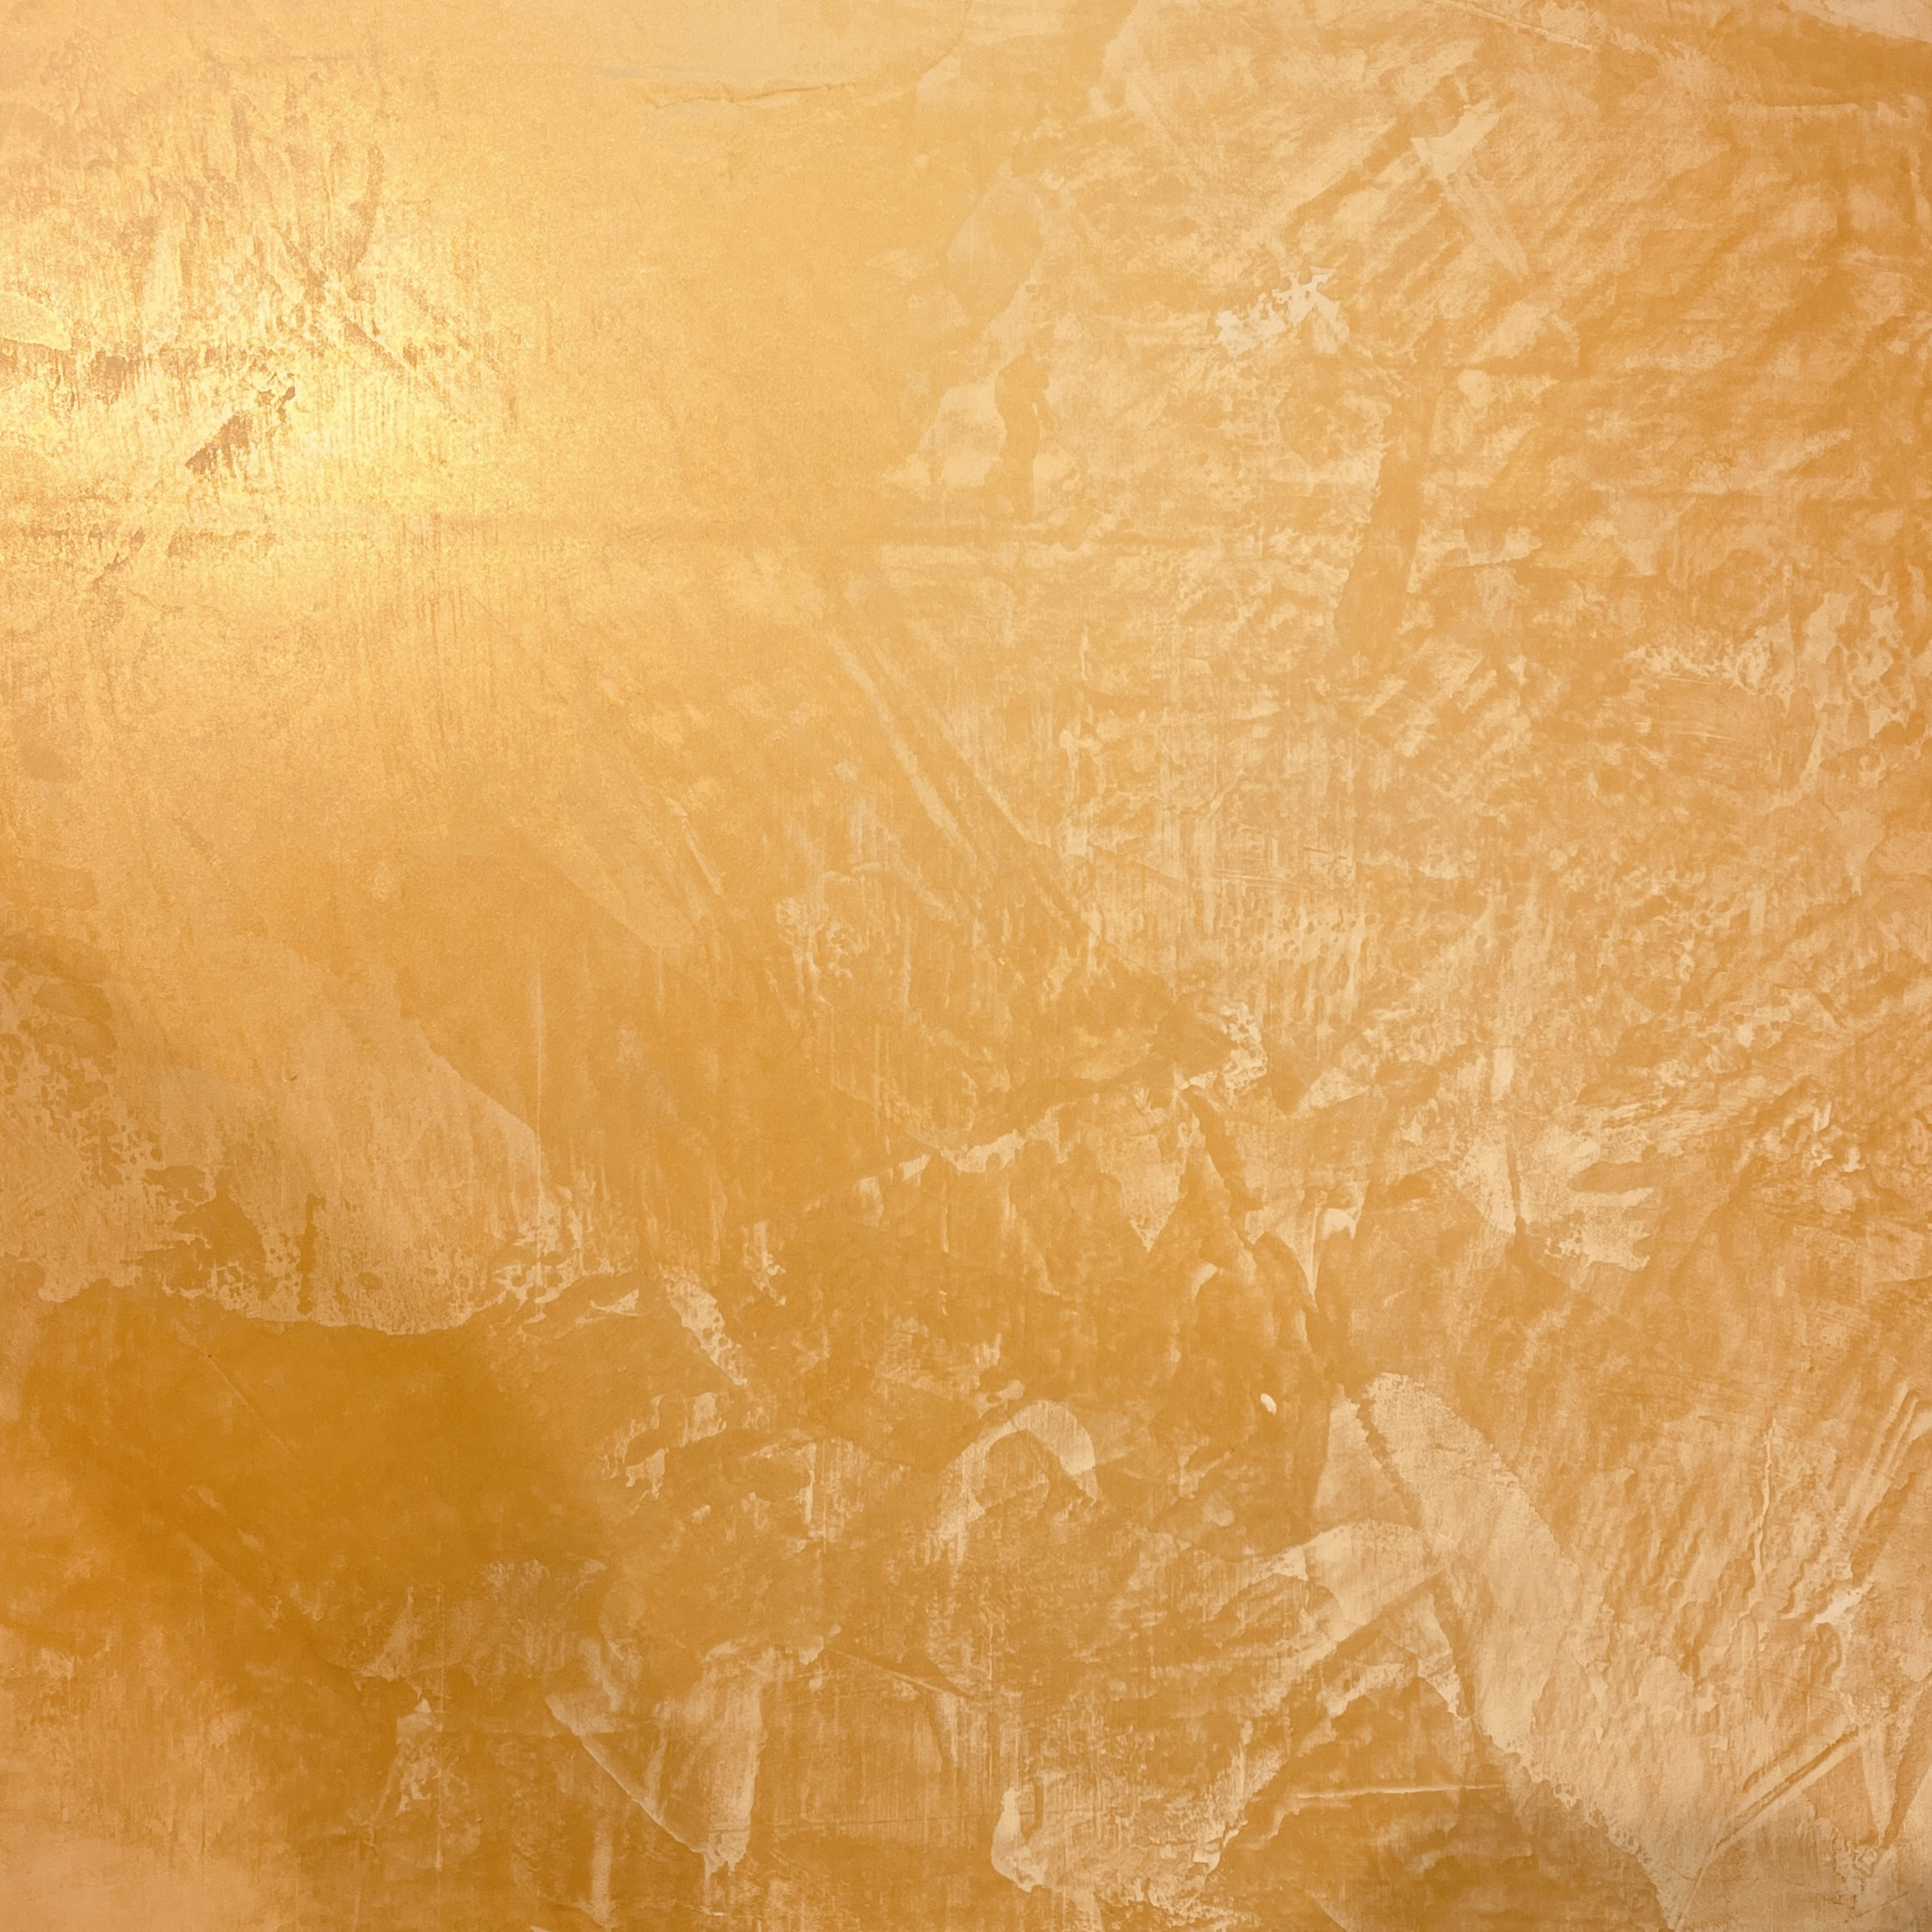
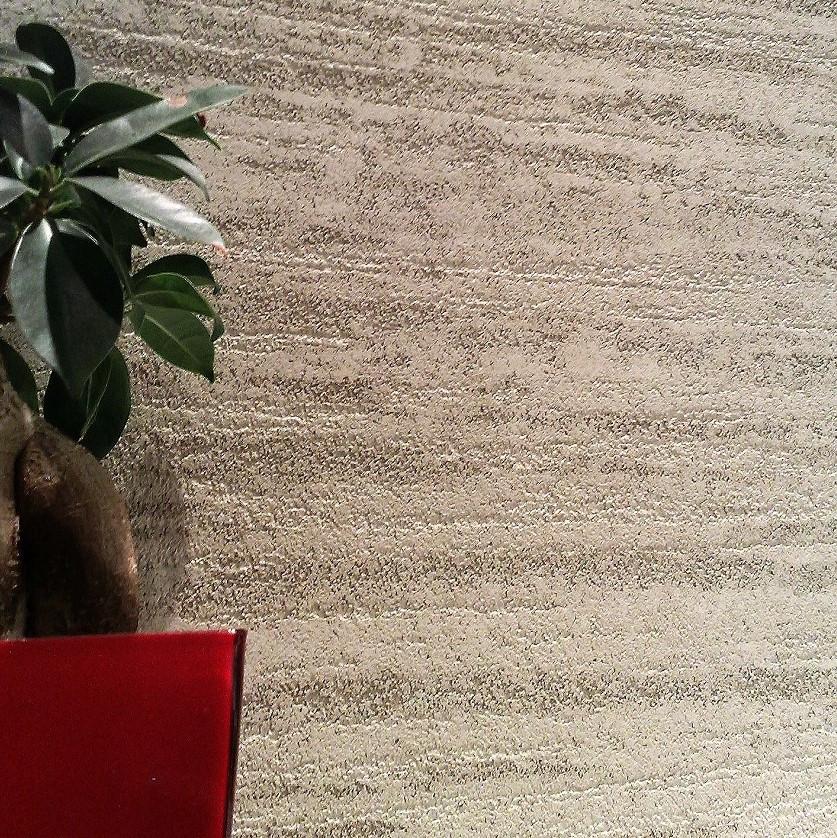

Copper Metallic Stucco
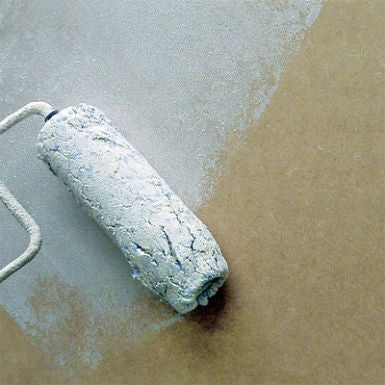
Plaster paste of extremely fine slaked lime and fine copper metallic powder.
This gives prestigious pearlescent reflections in a Venetian Stucco effect.
This plaster gives a subtle, semi shine finish.
Comes in two colours, Copper & Bronze Copper
Copper colour is a subtle metallic copper colour.
Bronze Copper, is a metallic warmer, richer brown colour.
Applied in a similar fashion as Lucidato but with finer application method.
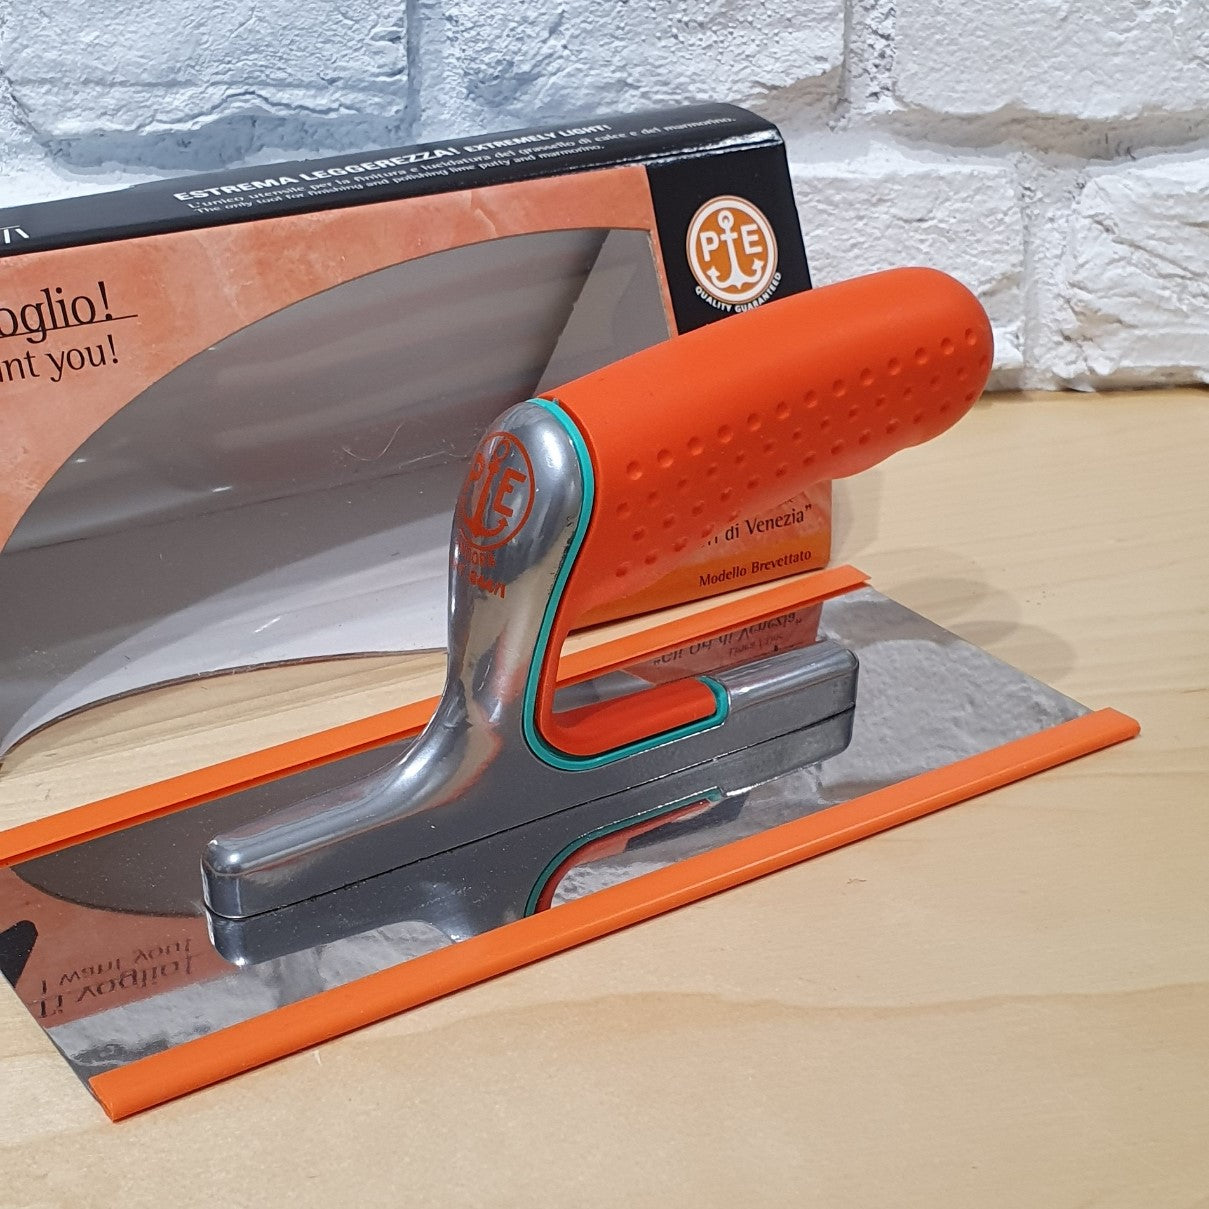
Download Lucidato Application Guide
Yield:
3 m2 per kg
Safety:
All hydrated lime products must be used with care and caution, wear protective clothing, gloves and eye protection.
Avoid contact with skin and eyes.
Upon contact: wash with clean water, flush eyes with clean water immediately for 30 minuets.
Typically all orders are shipped out with APC next day service except weekends.