



How to Apply Lucidato Polished Plaster
Lucidato is an Italian-manufactured polished plaster designed to produce a seamless, high-gloss finish that reads like polished marble. Applied correctly, it has a depth and luminosity that paint simply cannot replicate — light moves across the surface rather than sitting on it. Applied poorly, you get streaks, drag marks, and a surface that will need stripping back.
That gap between a good result and a poor one comes down almost entirely to technique. Lucidato rewards precision and patience. It does not forgive rushing.
What You'll Need
Before you start, have everything to hand. Interruptions mid-application compromise your wet edge and your finish.
-
Lucidato polished plaster
— Italian-made, lime-based, available ready tinted in a wide range of colours -
Key Coat base plaster
— applied over the primer to create the bonding layer for Lucidato -
SC Primer
— a specialist primer; thin up to 40% with water on porous surfaces, apply neat on difficult surfaces like gloss or plastic -
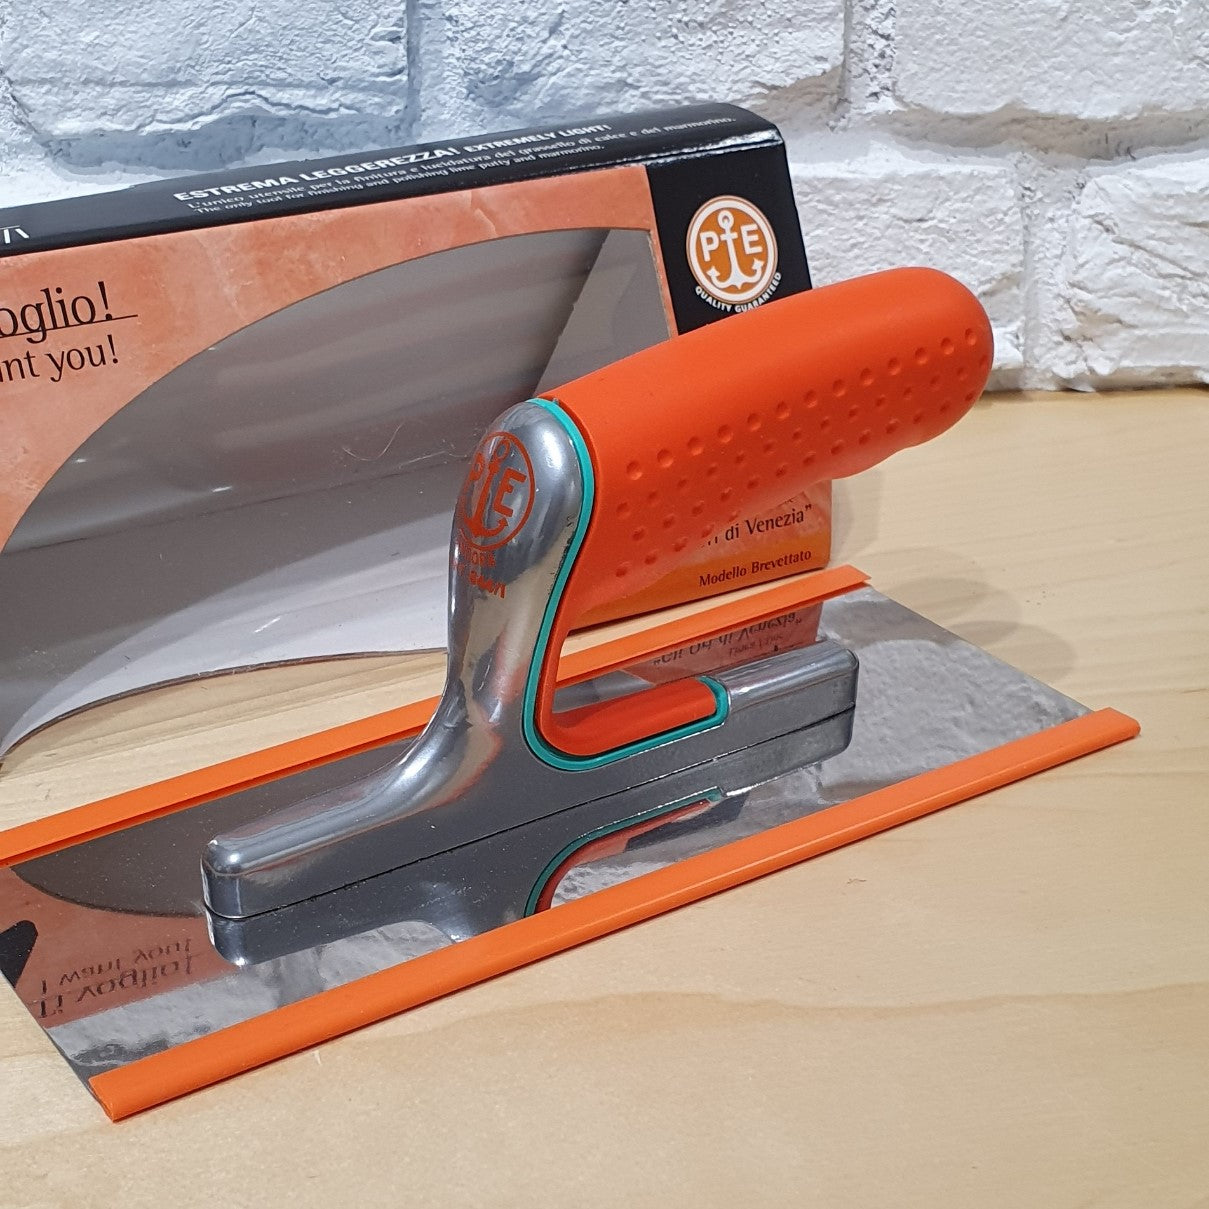
Venetian trowel
— Italian-manufactured stainless steel; the blade flex and temper of a well-made Italian trowel make a measurable difference to how the plaster moves and burnishes -
Fine-gauge trowel or spatula
for loading -
Clearcoat Wax
— applied as the final protective and finishing step once the plaster has fully dried -
Clean cotton cloths and a brush or roller
for priming and wax application -
Masking tape
— mask all skirting boards, architraves and other details before you begin
Cutting corners on the trowel is a common mistake. A cheap, flexible steel or a worn blade will leave lines you cannot recover. Browse the Italian trowels range if you need to replace your kit.
Surface Preparation
The substrate determines the ceiling of your finish quality. Lucidato will pick up every imperfection beneath it — any crack, dip, or contamination will telegraph through to the finished surface.
Work through this sequence before you open the tub:
-
Strip and clean
— Remove any existing flaking paint, dust, grease, or release agents. The surface must be clean and structurally sound. -
Fill and rub down
— use a fine filler to level any holes, dents, or jointing gaps. Let it cure fully, then sand flush and feather out any high spots. Do not rush this; filler that is not fully cured will shrink. -
Sand and key
— lightly abrade glossy or dense surfaces to improve adhesion. -
Mask up
— Mask all skirting boards, architraves and other details. Do not mask the ceiling — cut this in carefully with a brush at each coat stage instead. -
Prime with SC Primer
— apply SC Primer evenly with a brush or roller. On porous surfaces, thin up to 40% with water. On difficult surfaces such as gloss paint or plastic, apply neat. Allow to dry fully before proceeding. On absorbent substrates, a second prime coat may be necessary to achieve even suction. Applying Lucidato over uneven suction causes differential drying, which shows in the final burnish.
An even, flat, primed surface gives you the best possible starting point. Time spent here is never wasted.
Applying the Key Coat
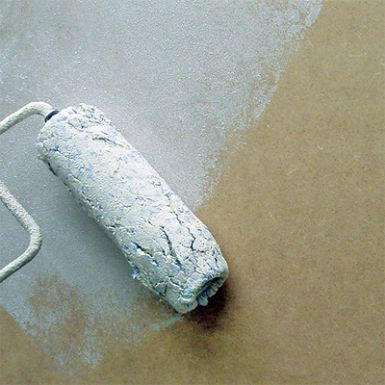
Before any Lucidato goes on, a Key Coat base plaster is applied over the dried primer. This step is essential — it creates the bonding surface that Lucidato adheres to and helps achieve an even, consistent base.
Apply an even layer of Key Coat to all surfaces, working it into the SC Primer and trowelling in all directions. Keep the application to a grain thickness and avoid any thick build-up. The Key Coat should produce a smooth, even matt finish. Allow it to dry to a firm but not wet state before applying Lucidato.
Solve any imperfections at this stage — scrape out any bits or high points now, as they will be much harder to address once the Lucidato layers go on.
Applying the First Coat of Lucidato
The first coat of Lucidato is not about colour or sheen — it is about building a stable, even base over the Key Coat. Keep the coat thin and avoid trowel lines and thick applications. Work the Lucidato into the Key Coat to create a smooth, even matte finish.
Load a modest amount onto your Venetian trowel and apply with firm, sweeping strokes. Hold the trowel at a shallow angle — roughly 15–20 degrees to the wall — and work in varied directions to avoid a directional pattern. Keep a wet edge as you move across the surface; returning to a partially dried edge will cause ridging.
Work systematically. On large areas, work from the top down and in manageable sections. Keep your passes overlapping and consistent in pressure.
Allow the first coat to dry fully before proceeding. In typical UK interior conditions (15–20°C, moderate humidity), this is usually 12–24 hours. Do not accelerate drying with direct heat; forced drying can cause microcracking.
Second Coat and Building Depth
The second coat is where Lucidato begins to show its character. The colour builds, and you will start to see the clouding and tonal variation that gives the material its depth.
Apply this layer in patches across the surface, building up and creating pattern as you go. You can begin to introduce more directional consistency in this coat if you want to influence the final visual texture, but keep it subtle.
The second coat also gives you the opportunity to refine coverage — check for any missed spots or thin areas from the first coat and address them now.
Once the second coat has dried fully, the surface should feel smooth and consistent to the touch before you proceed to burnishing.
Final Coat and Burnishing
The final layer of Lucidato is applied in patches over the dry or firm surface, burnishing as you go. This is the defining step, and it requires the most skill and judgement.
The timing window is critical. Burnish the surface with a clean blade, using a cutting motion over the damp plaster — never use the trowel as if you were plastering. The trowel on the damp plaster should feel smooth and not dragging. Work in all directions and keep dropping back over the applied areas until the surface is burnished and has a glassy reflection. Be sure to polish the plaster before it dries.
Technique for burnishing:
-
Hold the trowel flat
— nearly parallel to the surface, with minimal angle -
Apply firm, even pressure
— lean into the trowel with the heel of your hand -
Use a cutting motion in all directions
— work across the surface methodically, covering each area multiple times -
Increase pressure progressively
— start with moderate pressure and build; the sheen develops with repeated passes
If there are areas that remain darker and will not polish up, this is due to excess moisture. Leave for 10–15 minutes and polish again. A heat gun can be used to gently dry isolated patches.
For an even pattern and sheen, take care to give all areas of the wall the same amount of attention. The final layer can be applied wet-on-wet for a more even, consistent colour, or dry-on-dry for more pattern and tonal variation — the choice depends on the effect you want to achieve.
The plaster should have a high-sheen finish with no cloudy areas when complete. Leave to dry overnight before moving on to waxing.
Waxing for Protection and Finish
Once the burnished Lucidato has dried overnight, the final step is to apply Clearcoat Wax. This protects the surface and enhances the depth of the finish.
Apply the wax sparingly with a clean cotton cloth in a circular motion — use as little as possible and work it well into the surface rather than laying it on thick. Buff up with a clean, dry cloth. A mechanical polishing machine can be used to finish off if required.
Do not rush this stage. Too much wax applied too quickly will cloud the surface rather than enhance it.
Frequently Asked Questions
How many coats does Lucidato need?
The full system is: SC Primer, Key Coat, then a minimum of two coats of Lucidato, finished with Clearcoat Wax. A third coat of Lucidato can be applied where a more intense colour or additional depth is required, or where the substrate was particularly challenging. Always allow full drying between coats before proceeding.
Can Lucidato be used in bathrooms?
Yes. Lucidato performs well in bathrooms and other areas with moderate moisture exposure. The burnished, closed surface is naturally more resistant than standard plaster. For areas of direct water contact, such as showers, we don't recommend polished plaster.
How do I choose my Lucidato colour?
Lucidato comes ready tinted in a wide range of colours — there is no on-site mixing required. Simply choose your colour when ordering, and the material arrives ready to use straight from the tub. Browse the full colour range on the Lucidato product page.
How long does it take to dry between coats?
Allow a minimum of 12–24 hours between coats under normal UK interior conditions (around 15–20°C). In cooler or more humid conditions, allow longer. The surface should feel dry and firm to the touch, with no cool spots, before you proceed. Do not use direct heat sources to accelerate drying.
What is the difference between wet on wet and dry on dry for the final coat?
Applying the final layer wet-on-wet (onto a still-damp previous layer) gives a more even, consistent colour and pattern. Applying dry-on-dry (onto a fully dried layer) creates more tonal variation and pattern depth. Both are valid — the choice comes down to the look you want to achieve.
Getting the Best from Lucidato
Lucidato has been a cornerstone product at The Polished Plaster Company since Phil founded the business in 2003. In that time, the consistent lesson from those who get exceptional results is the same: do not rush the process, use quality tools, and respect the burnishing window.
If you are working with Lucidato for the first time, a practice board before your live application is time well spent. The feel of the material — how it moves, how it compresses, how the sheen develops — is something you learn with your hands, not just by reading about it.
For the product itself, see the Lucidato product page. For Italian-manufactured trowels that give you the control this material deserves, see the Italian trowels range.
Leave a comment